The basement of the “old” biology building on campus is lined with beautiful microscopy images which I’d always been curious about. A few weeks ago I contacted the team responsible who were kind enough to offer some of their time to show their laboratory and demonstrate some of the processes involved. The team also extended an offer (or rather, issued a challenge) to come back with something to image.
Today Vic and I had the opportunity to try out taking some micrographs for ourselves. As additional steps are necessary for pre-processing biological samples (primarily the time consuming step of drying and fixing), we decided to find something interesting but not alive that the lab might not have had seen before. We settled on bringing along a bag of various 3D-printing filaments that each possess some interesting property that we hoped would lead to interesting images too.
Sample Preperation
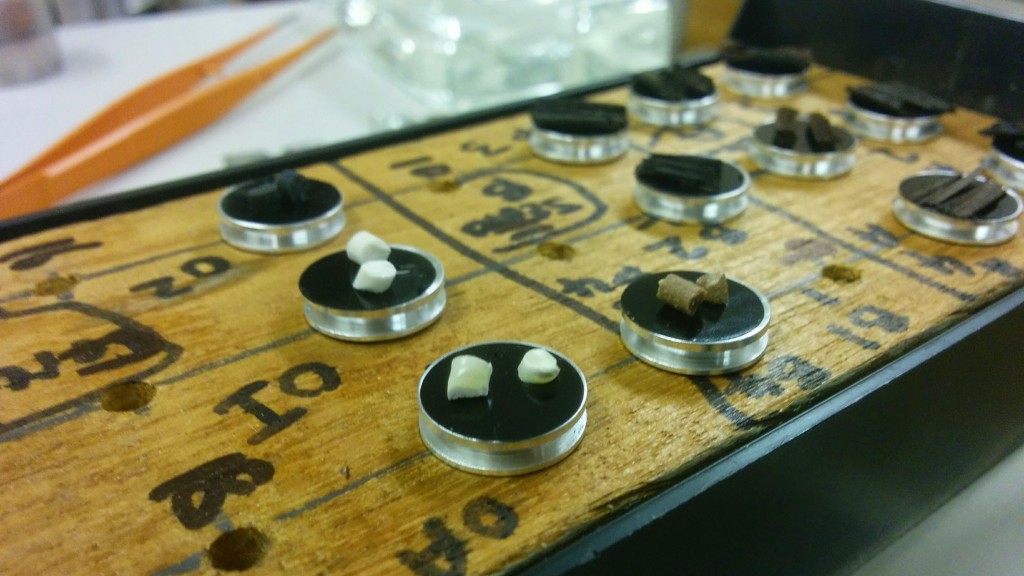
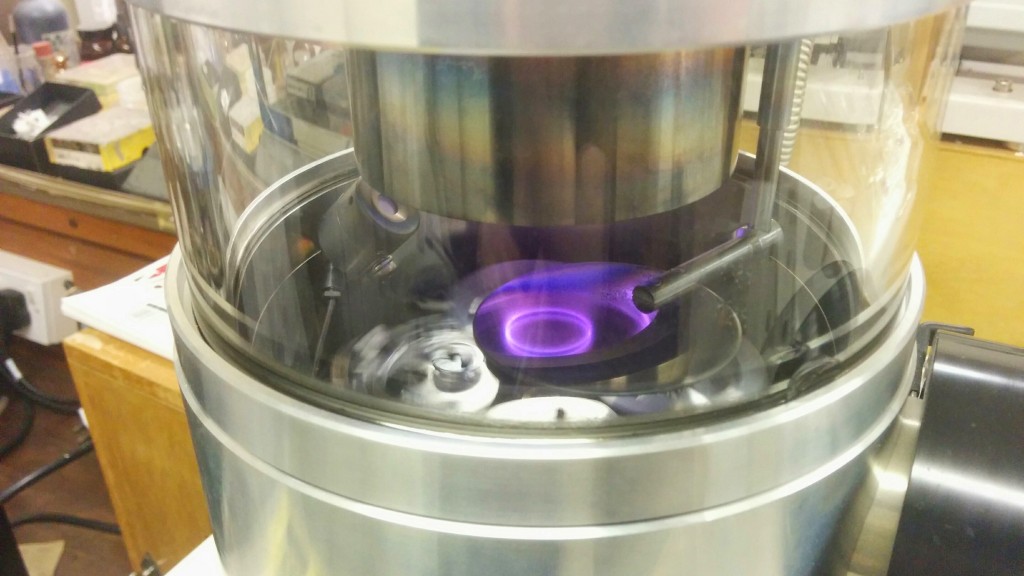
Samples of a few millimetres in length were stuck to the sticky and conductive surface of specimen bolts. Non-conductive samples must be coated in a thin layer of some conductive material so as to be interactable and thus detectable by the scope. The bolts were loaded in to an argon vacuum sputter coater and coated in a layer of platinum-palladium alloy.
Above, samples mounted on specimen bolts (or stubs) ready for coating.
Below, samples tripping the light fantastique.
After coating, samples were immediately ready for loading in to the Hitachi S-4700 field emission scanning electron microscope.
Pseudo-Wood
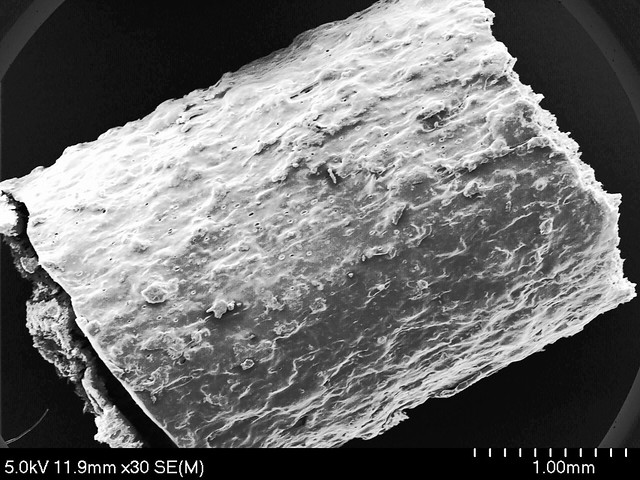
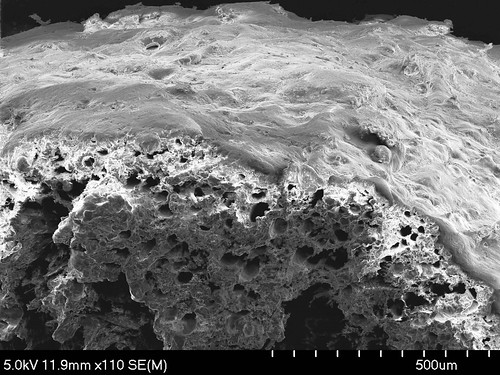
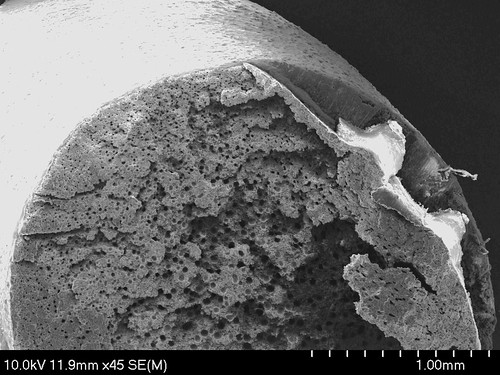
First up; Lulzbot Laywoo-D3, a “wood based” filament designed to look like cherry wood when extruded1. Indeed the exterior demonstrated by the first image below seems to have a bark like appearance. Below you can see a cross-section of the filament, a rugged exterior protects a sponge-like fibrous interior.
I wasn’t exactly sure what to expect but had initially envisaged being able to see a more wood-like structure. Of course the product is designed to be both flexible and safely extruded without blocking or damaging the printer head and thus it is possible the wood content is milled and uniformly mixed with the ABS.
Pseudo-Brick
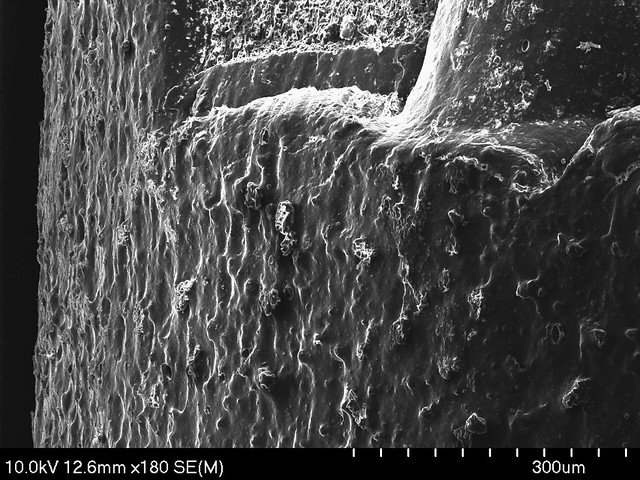
Lulzbot also offer Laybrick, embedding “minerals” to offer a stone-like appearance. On the surface, the resulting images are similar to that of the wood-based counterpart, featuring a textured exterior. Appearing almost smooth at 45x, the coating reveals a more fine texture at 180x. The interior appears more compact and rigid.
I had expected to see more of a crystalline structure due to the minerals. But again, I imagine this would cause trouble during extruding. It should be noted the products are designed to look like wood and brick and achieve this job well enough with their exteriors. There isn’t a pressing need to emulate the materials under the surface!
Glow in the Dark ABS
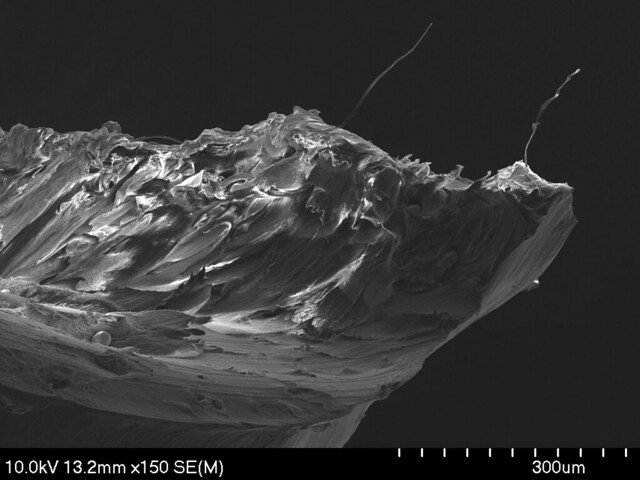
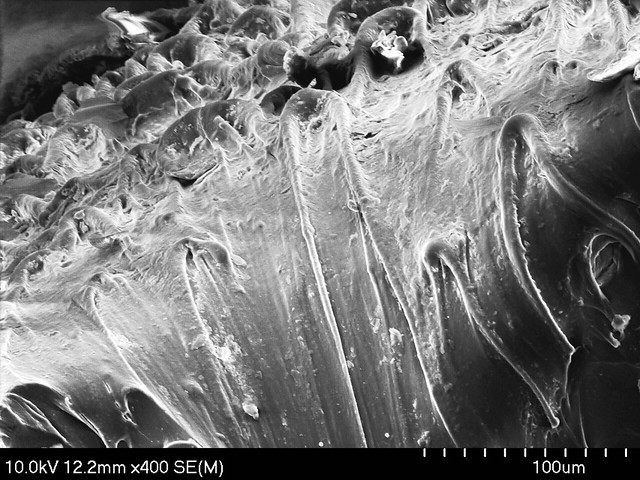
We also took a look at Lulzbot Glow in the Dark ABS, curious to see whether the glowing property altered the structure in an interesting fashion. From what we could see, it does not. However, this offers a useful comparison to our previous samples: note in particular the smooth exterior and the “cliff-face” at the cutting point where the blade slid across the surface. The interior appears rather solid, densely compacted and neither fibrous or porous.
Flex
Leaving the best and by far the most interesting (to me at least) until last, the Lulzbot Ninja Flex. The material is fascinatingly flexible with strong and durable elasticity. Unsurprisingly you could probably predict these properties from the microscopy images:
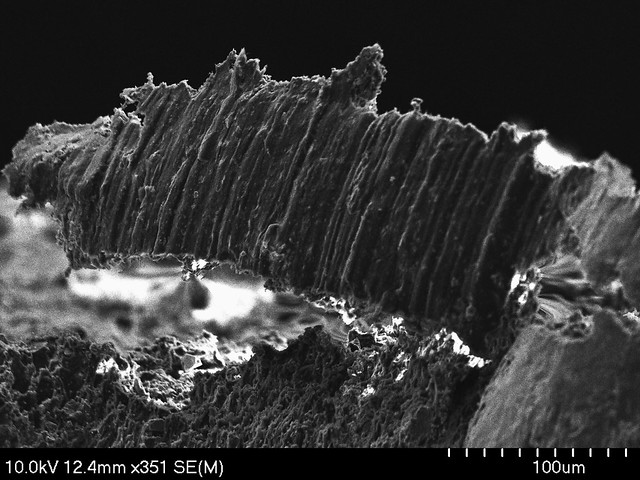
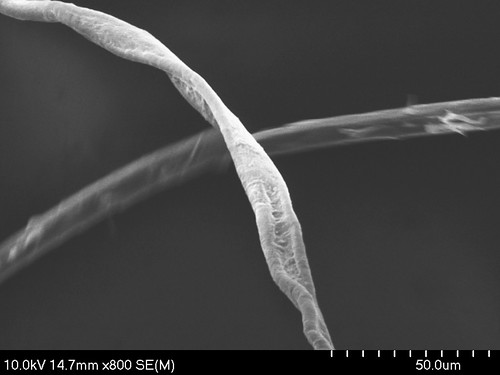
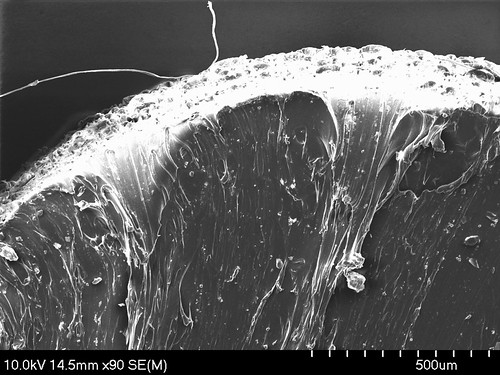
Above: the surface coated with obvious fibres. Below, Vic captures a ~10-15µm thick stray strand of flex fibre, followed by a cross-section of the cut sites. Note the “landslide”-like result of the blade passing through the sample, dragging external fibres inward and bringing some of the surface with it.
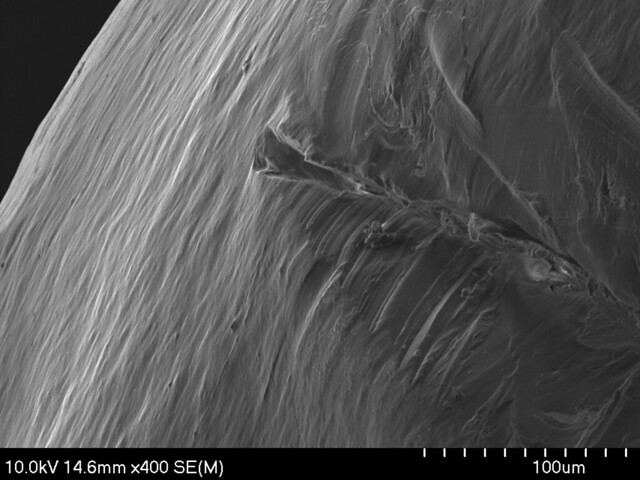
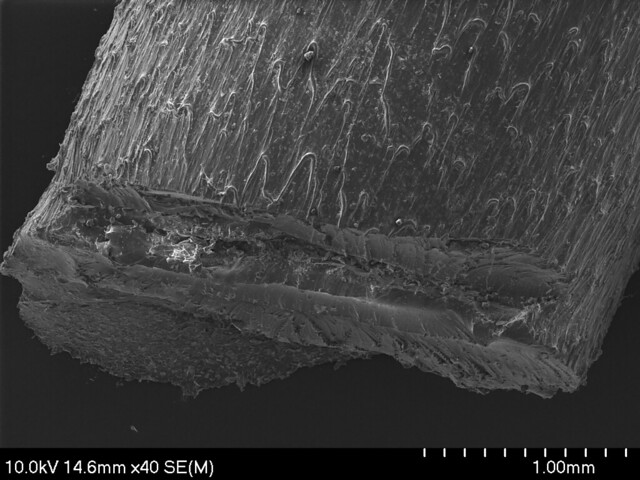
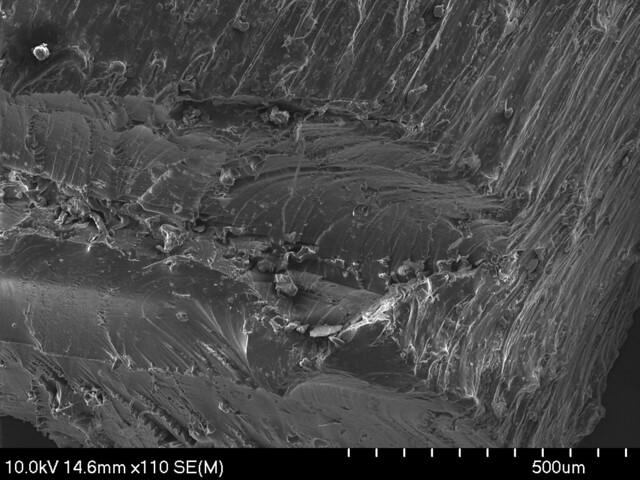
Above and below, the exterior surface of the “bottom” of the sample. The top image, taken at just 40x offers incredible detail of the complex waves of fibres that afford the material its flexibility, as well as Vic’s first failed attempt at cutting the sample. Below I focus on the few hundred µm chasm created by the failed cut at 110x, here you can see curling similar to that of the glowing ABS dotted with snapped strands caught by the blade.
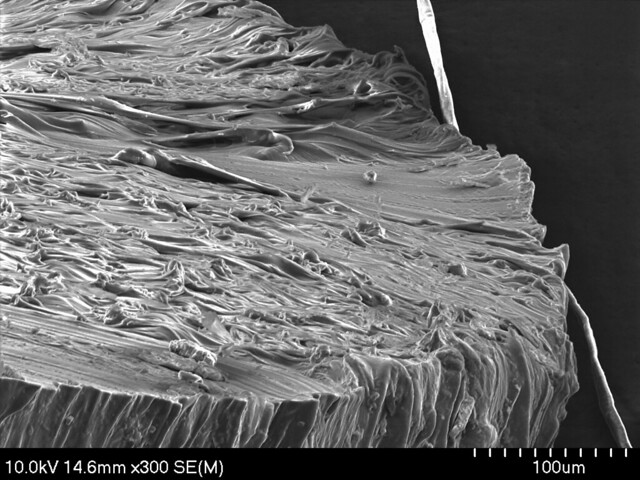
Above, I capture the top surface of the sample, once again demonstrating the dense fibrous structure. Like the glow in the dark ABS, the interior appears solid rather than sponge-like. Fibres tightly overlap and interweave giving the appearance of a choppy sea. Longer and thicker strands are visible towards the background.
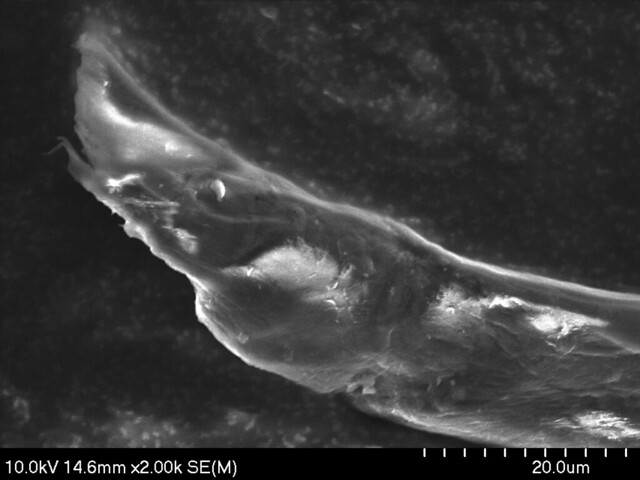
Below my own attempt to capture what I hope is a ~20µm wide stray strand at 2,000x.
Final Words
The imaging process was significantly more fiddly than I had anticipated, with each movement of the beam to another part of the sample often requiring re-calibrating even to get a reasonable idea of what you were now looking at. The microscope offered a low and high power mode; low power was limited on zoom but the latter required an additional axis of calibration2 and gave poorer visual feedback on the current position. Focus was particularly hard to get right, even a good looking image turned out to be “just off” when loaded in to the seperate viewing software.
Towards the end I feel like we got the hang of things and am looking forward to returning once we think of some other interesting samples.
You can check out all the images via my Flickr album. Vic’s Flickr album has additional images (that also featured in this post) too.
tl;dr
- Microscopy is very cool.
- Microscopy is difficult.
- Vic tells me that there are plugins available for the printing software that dynamically alter the extruder head temperature to give the appearance of knots in wood for additional authenticity. ↩
- We dubbed this “sea sickness” mode, due to the requirement of twiddling away at X and Y controls to reduce a rocking effect before being able to take high-quality images without ghosting. ↩
